Your toilet sounds like it’s always running, and sometimes you hear flushes when no one has used the toilet! What’s going on? Most likely, you have an issue with your toilet flapper. That small, round rubber flap that keeps the clean water in the toilet tank until you flush does get worn out over time. And when it does, it will need to be replaced. Don’t worry – the experts at Plumbers 911 are here to help. Here is our step-by-step guide for changing your toilet flapper, but if you want some help, just give the experienced, licensed, and insured plumbing experts at Plumbers 911 a call!
Step 1: Turn off the water to your toilet.
Before you can replace a faulty flush valve seal, you’ll need to stop the flow of water to the tank. Locate the shutoff valve on the lower part of the wall behind or beside the toilet. Turn the dial clockwise until it stops moving.
Step 2: Empty the tank.
Lift off the toilet tank lid and set it aside carefully. Then, flush the toilet. This will drain the water in the tank, allowing you to more easily access the toilet flapper and work unobstructed.
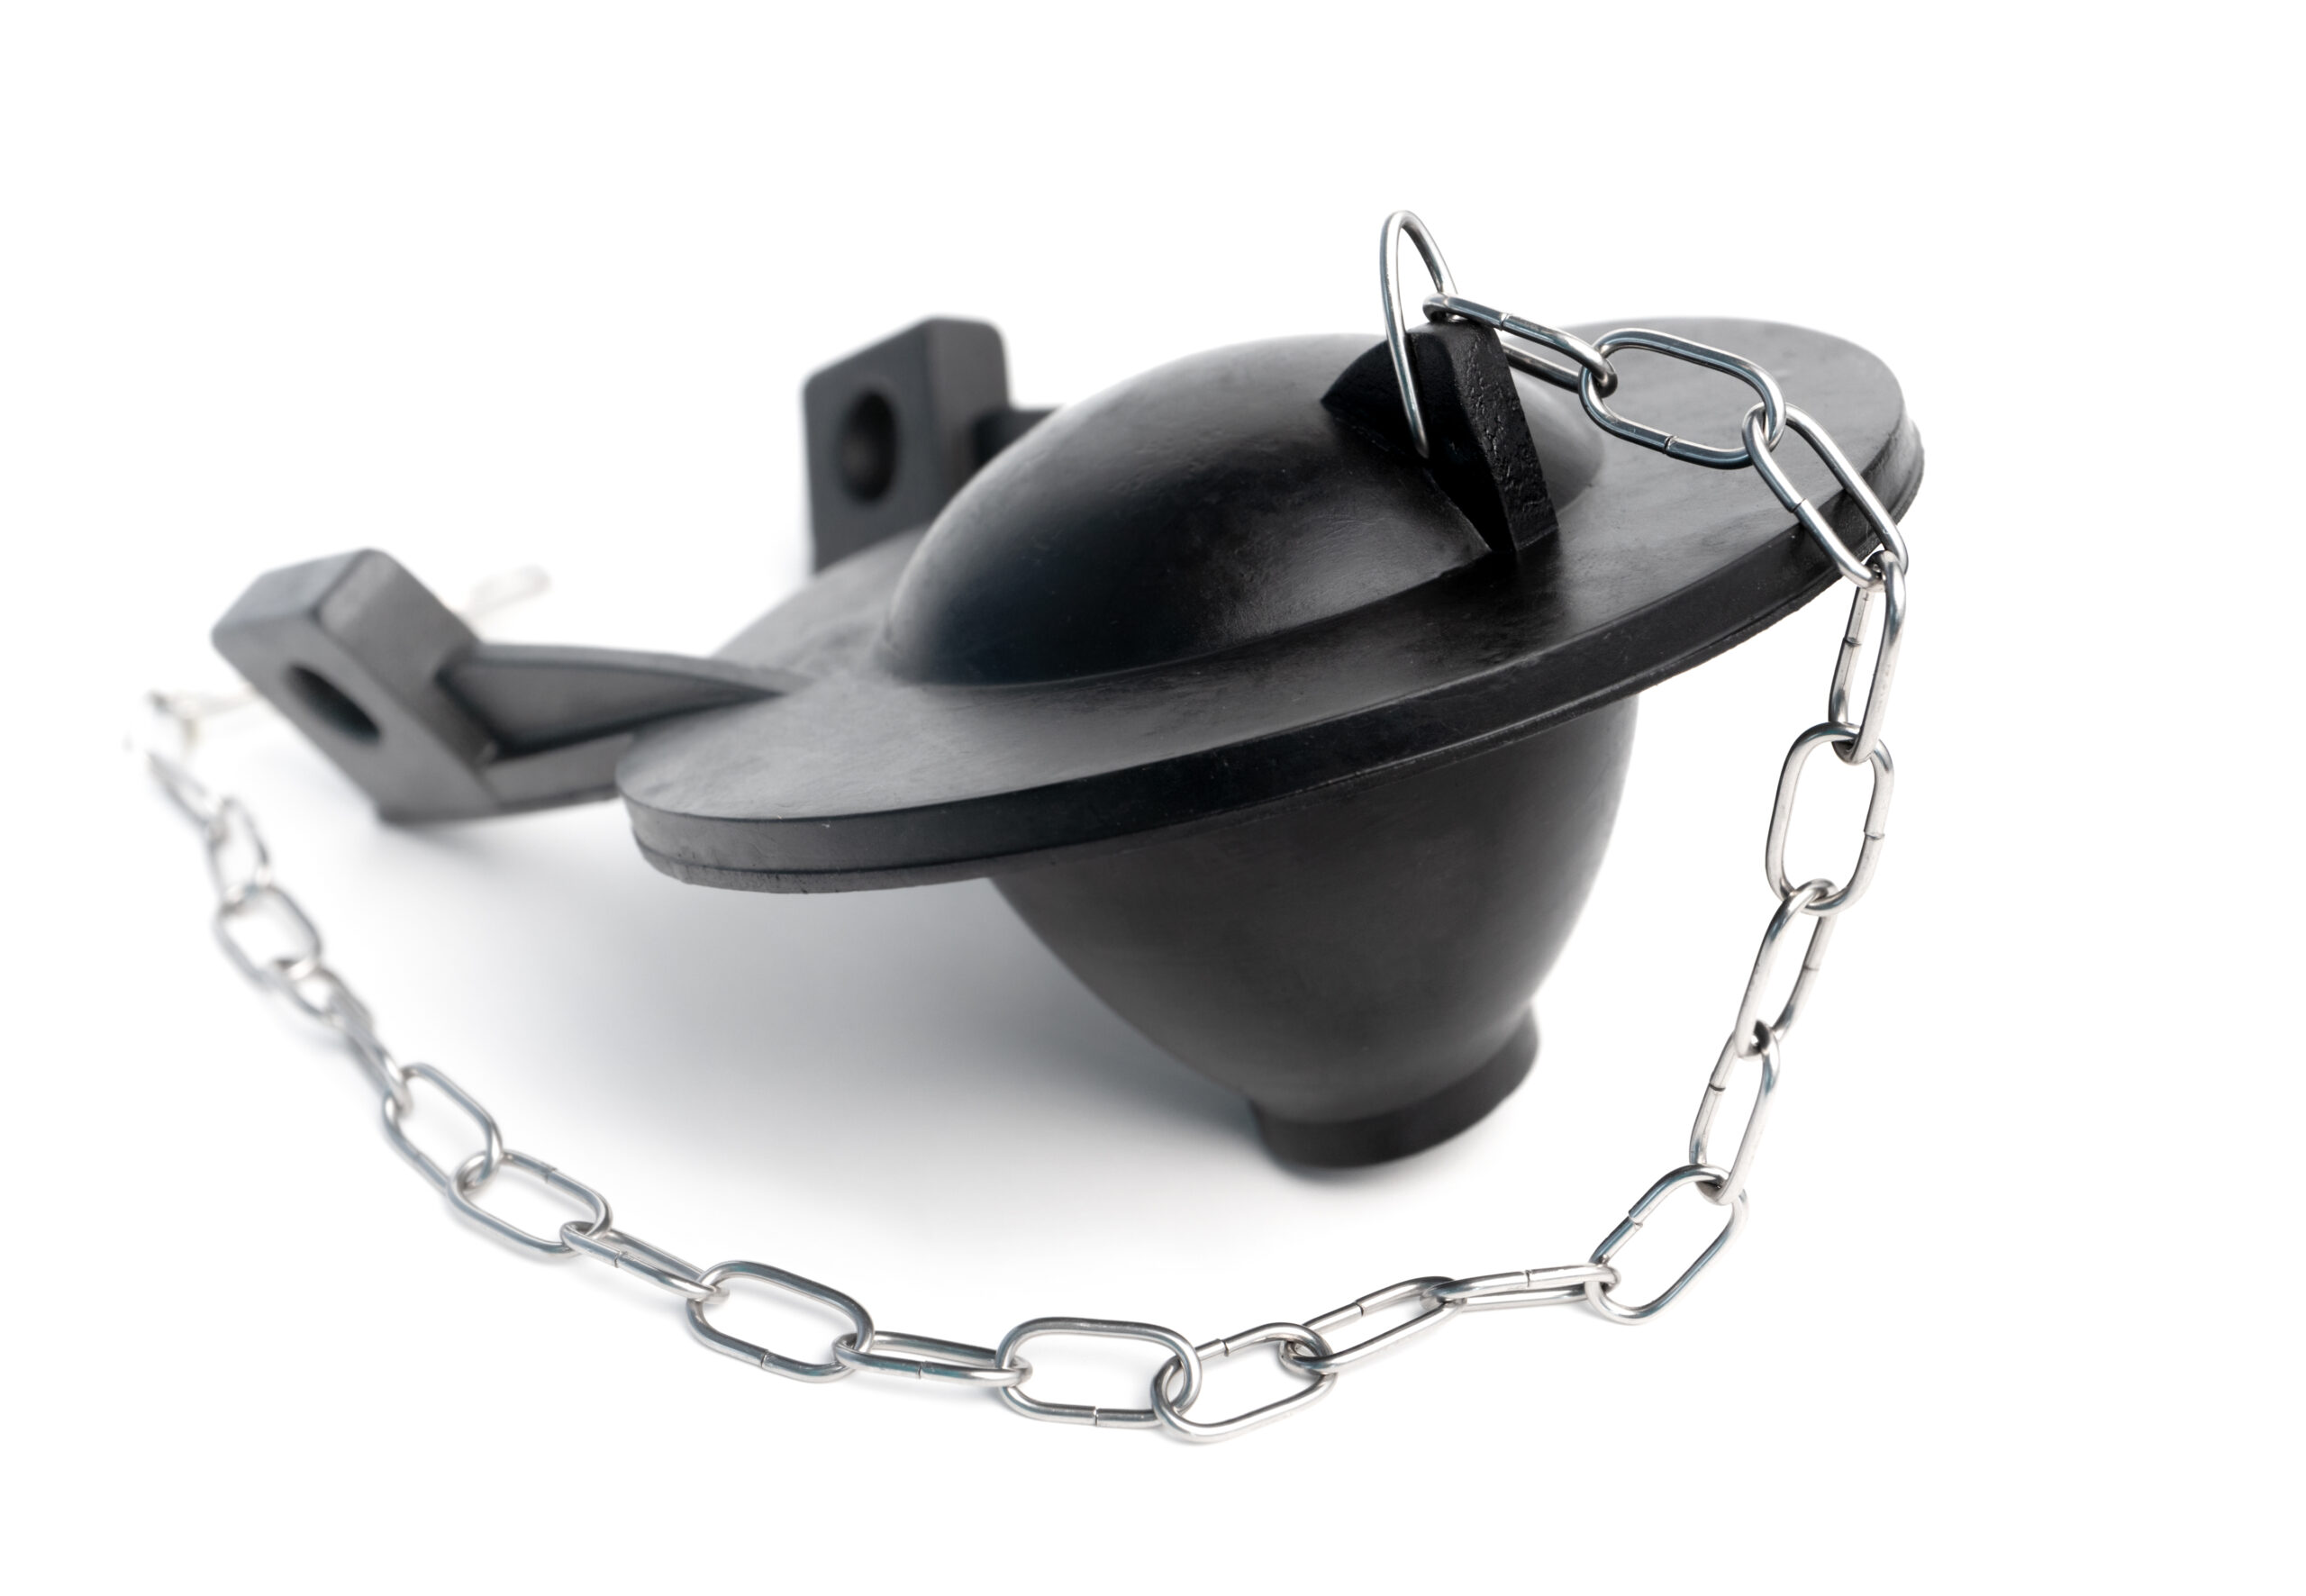
Step 3: Disconnect the faulty toilet flapper.
The flapper connects in 2 places—the tiny pegs on either side of the tubular overflow valve and a chain attached to the toilet handle lever. Unclip the chain first, then pull the edges of the flapper free from the pegs to remove it.
Step 4: Purchase a new toilet flapper.
Bring your old flapper with you when shopping for a new one so that you’ll be able to compare different styles to find one with the appropriate specifications. Make sure the new flapper is the right size (most are either 2 inches or 3 inches in diameter) and uses the same points of connection.
Step 5: Connect the new flapper to the flush valve.
Slide the attachment holes on either side of the rubber seal over the pegs on the valve, then clip the lift chain to the lower end of the toilet handle lever. Lower the flapper to confirm that it fits snugly and provides total coverage.
Step 6: Adjust the chain length.
There should be enough tension in the chain connecting the flapper to the toilet handle lever to open the valve easily when the toilet is flushed, but not so much that it pulls or weakens the seal. Give the handle a push and see how the action feels. You may need to change the position of the chain a few times to get a perfect flush. A good rule of thumb is that the ring on the end of the lift chain should be touching or hovering just above the bottom of the tank.
Step 7: Test out the new flapper.
Turn the water shutoff valve counterclockwise to restore the water and refill the tank. Wait a few moments for the water level to rise well above the flush valve, then press the handle. The toilet should flush forcefully and immediately, and refill within about 30-45 seconds.
What should you do if changing the toilet flapper didn’t fix the problem? If you have followed these steps and your toilet is still running between flushes – or if you simply do not want to take on this task yourself – then call Plumbers 911! At Plumbers 911, our licensed and insured plumbers are always ready to respond to your plumbing needs. Our plumbers are trustworthy – all have passed background checks and agree to routine drug testing – and experienced – our plumbers have thousands of hours of experience and are dedicated to continuing education and training. Plumbers 911 offers a network of plumbing experts conveniently located throughout the entire United States. In California’s Central Valley, you can turn to our Fresno, Modesto, and Stockton plumbers. No matter where you are in the Central Valley, if you need a plumber, call Plumbers 911 at (209) 809-1468 or (559) 258-1904!